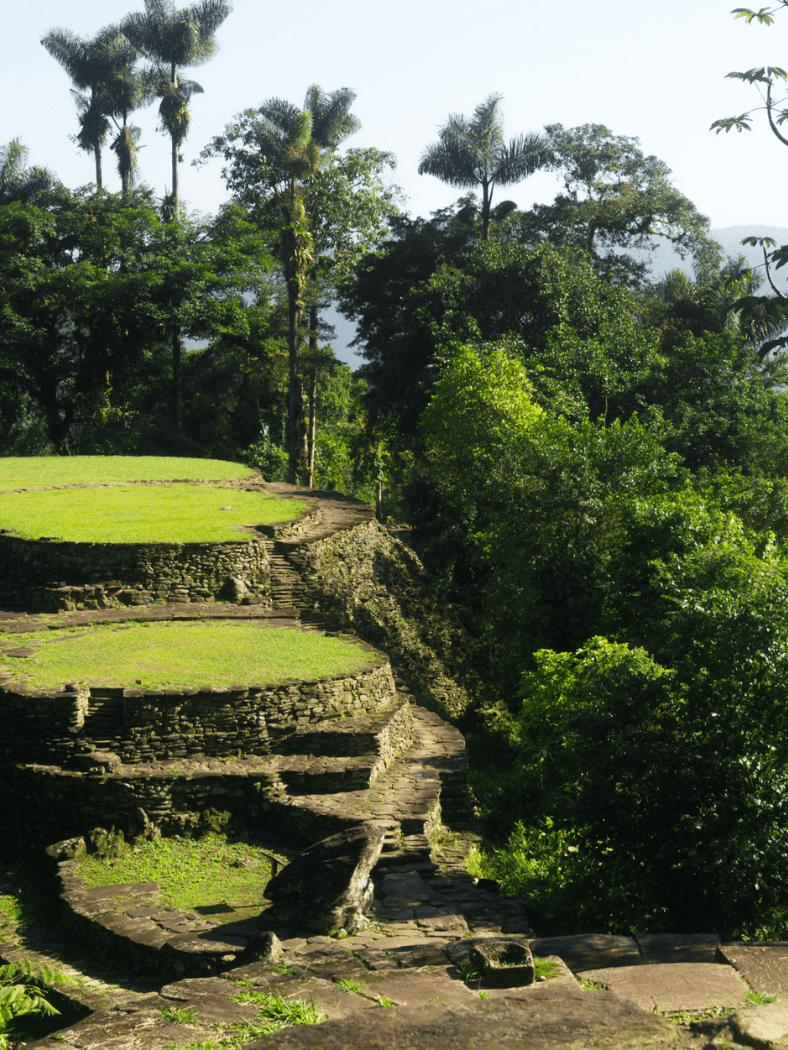
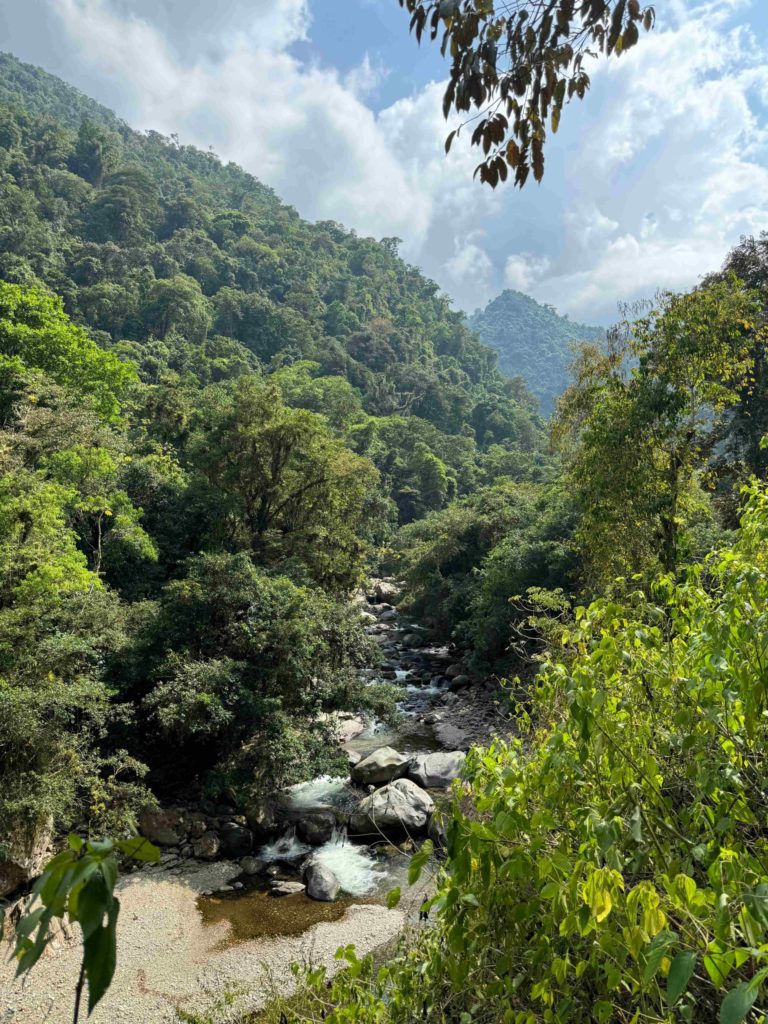
If there is one trail you need to add to your bucket list, this is it. The Lost City Trek is not only a physical challenge but a cultural experience which fully immerses you in nature. Known to the locals as La Ciudad Perdida, the Lost City is an ancient archeological site nestled high in the Sierra Nevada mountains of Colombia. It was built by the Tayrona people back in roughly 800 AD which makes it older than its much more famous neighbour, Machu Picchu. Having only recently been discovered, a mere 10% of it has been uncovered, which is more than enough to justify making the pilgrimage on the Lost City Trek.
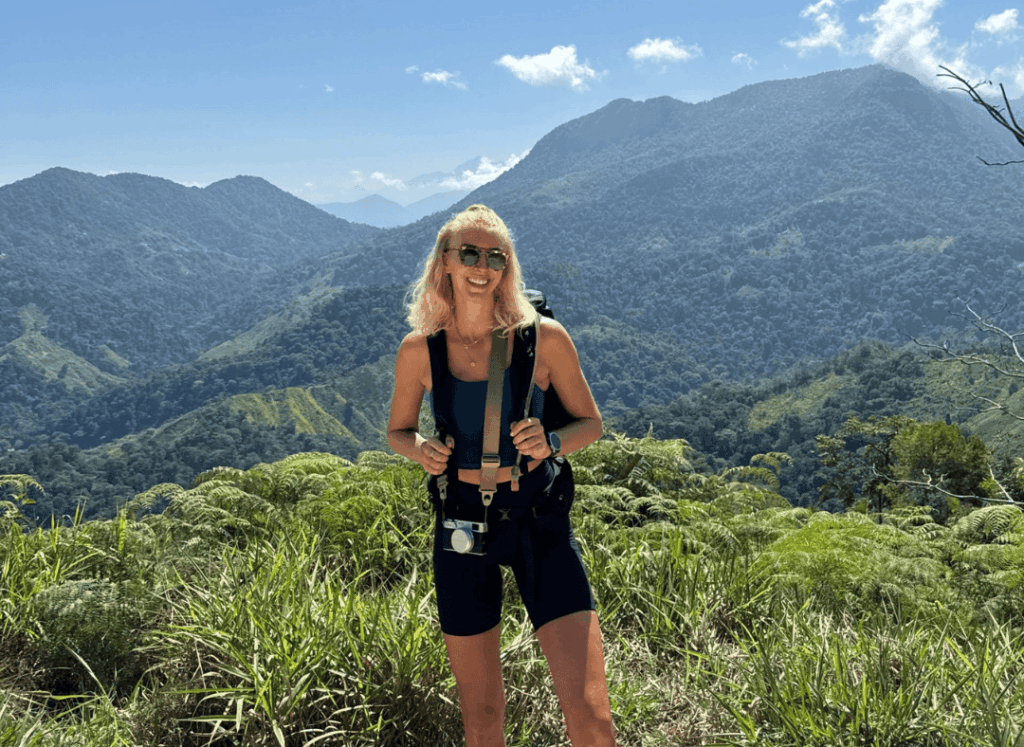
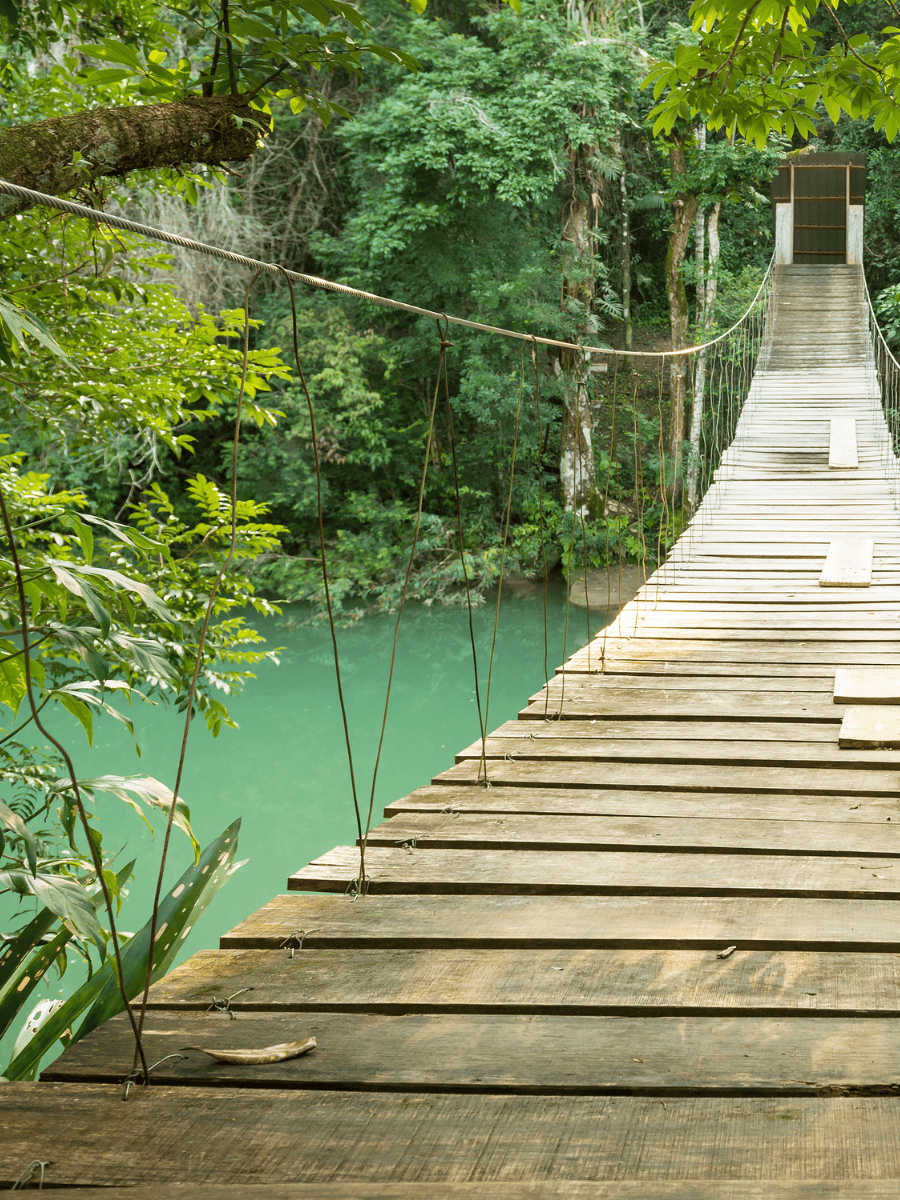
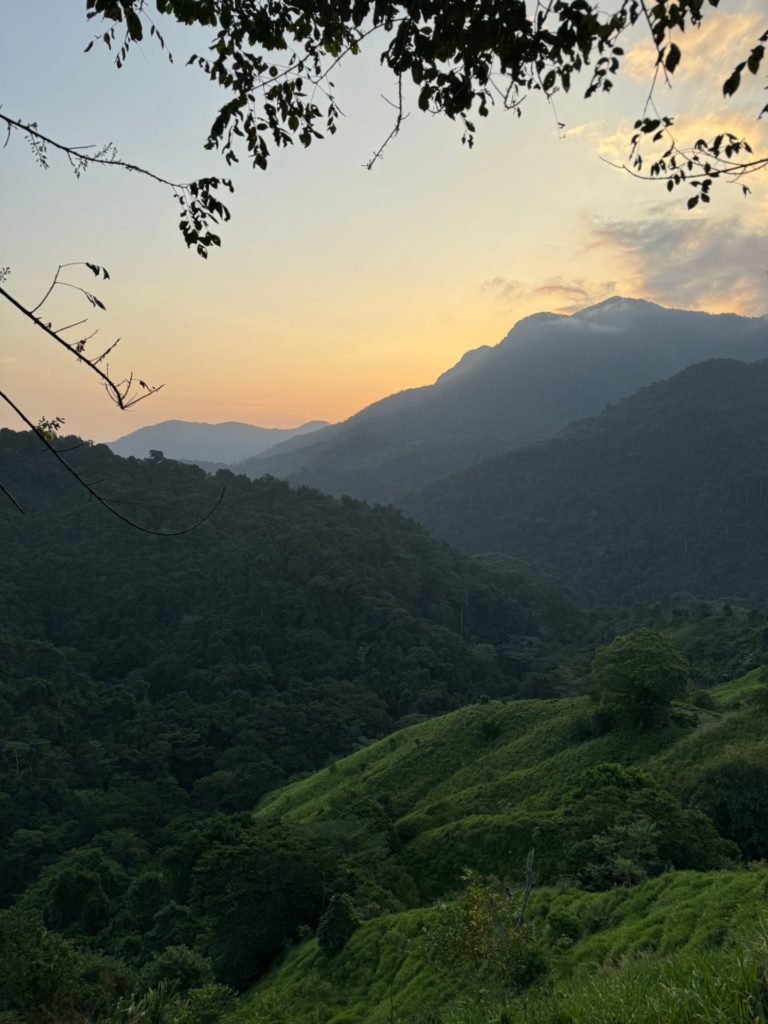
The route takes you through lush Colombian jungle and passes into the lands of the country’s oldest indigenous communities – a real highlight of the experience. You have the unique opportunity to connect with the locals and learn about their rich and well-preserved culture. The valleys you hike through used to be completely inaccessible due to the cocaine trade and violence surrounding it, but the region was reclaimed and protected as an indigenous reserve, allowing safe trekking tourism to begin. It’s a real privilege to be able to experience these beautiful landscapes which were unreachable for so long, and support the local indigenous communities through sustainable tourism.
If you are planning to complete the Lost City Trek then here is everything you need to know to make the most of your time in the Colombian mountains.
48km for the most common four-day route.
Typically four days and three nights.
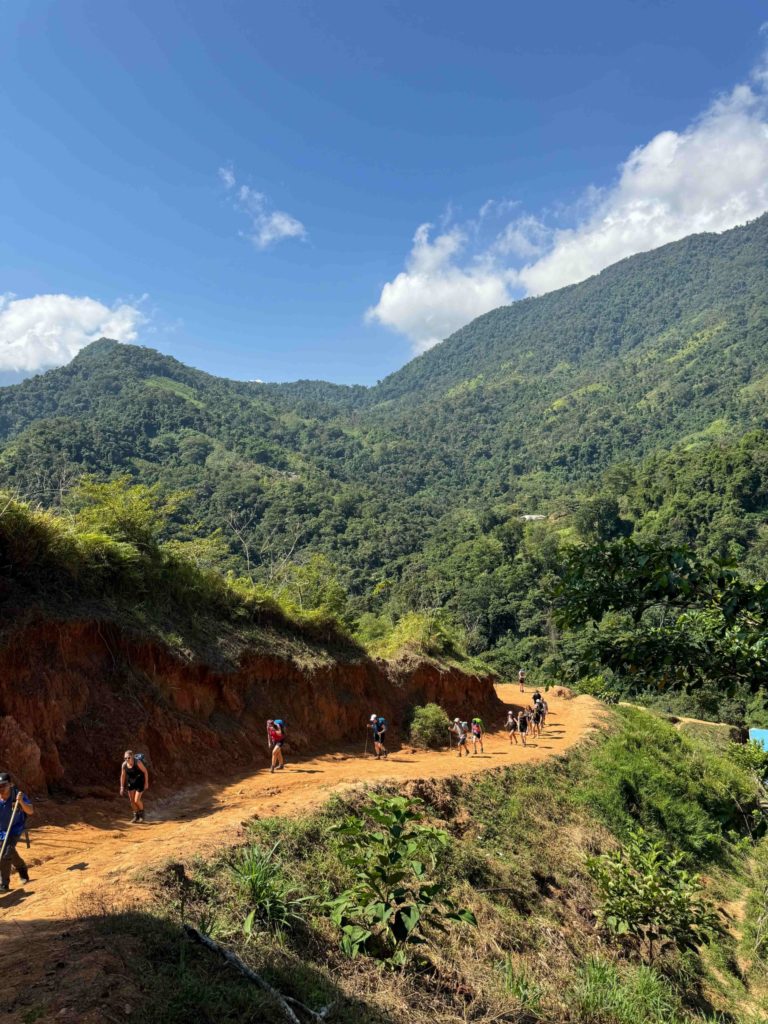
Challenging. High temperatures, humidity and steep ascents mean you need to be fit and strong to complete this trek.
Tours run year round (except September when the indigenous communities hold meetings between mamos (spiritual leaders)). It is best to avoid the rainy season of May-September. I did it in February and the weather was ideal.
You need to book in advance through an approved tour operator.
This means you will hike out to the Lost City and then retrace your steps on the way back. Typically I prefer loop or point-to-point hikes, but I actually really enjoyed the out and back nature of this route. It meant I got to see the same landscapes from a new perspective on the return journey, and enjoy my favourite swim spots multiple times. Plus it meant the brutal uphill climbs on the way out, were downhill on the way back – what a treat!

There are multiple route options available, allowing you to extend the trip to five or even six days long but the most common tour is four days. It looks a little like this:
In fact, I would say it is pretty challenging. The combination of steep ascents, high temperatures and serious humidity means that a good level of fitness is required to complete the route comfortably. Don’t let that scare you though! You are capable of more than you think. Just make sure you come adequately prepared, are a confident hiker and most importantly – have a positive mental attitude, and you will be absolutely fine.
It is not possible to do this hike independently or to reach the Lost City by any other means than the established trek. This is because the local indigenous communities have only given a small selection of approved tour companies permission to come onto their land, and they limit these numbers. We used Teyuna Tours and had a great experience. Whoever you go for, I recommend choosing a company which includes, supports and highlights the importance of the local indigenous communities.
Your tour company will typically provide an English speaking guide, local Spanish-speaking assistant guides and a couple of chefs. The team will hike the trek with you and ensure you have the most comfortable experience. They are incredible, and I strongly encourage you to tip them well for all their hard work.
You will need to book your tour in advance, but how far depends on the season. In the wet season, you may be able to book a few days before you go. In the dry season of December-March you might need to do it a little further in advance. When it comes to prices, they are on the rise but as of January 2024 they are roughly $400 for a four-night trek.
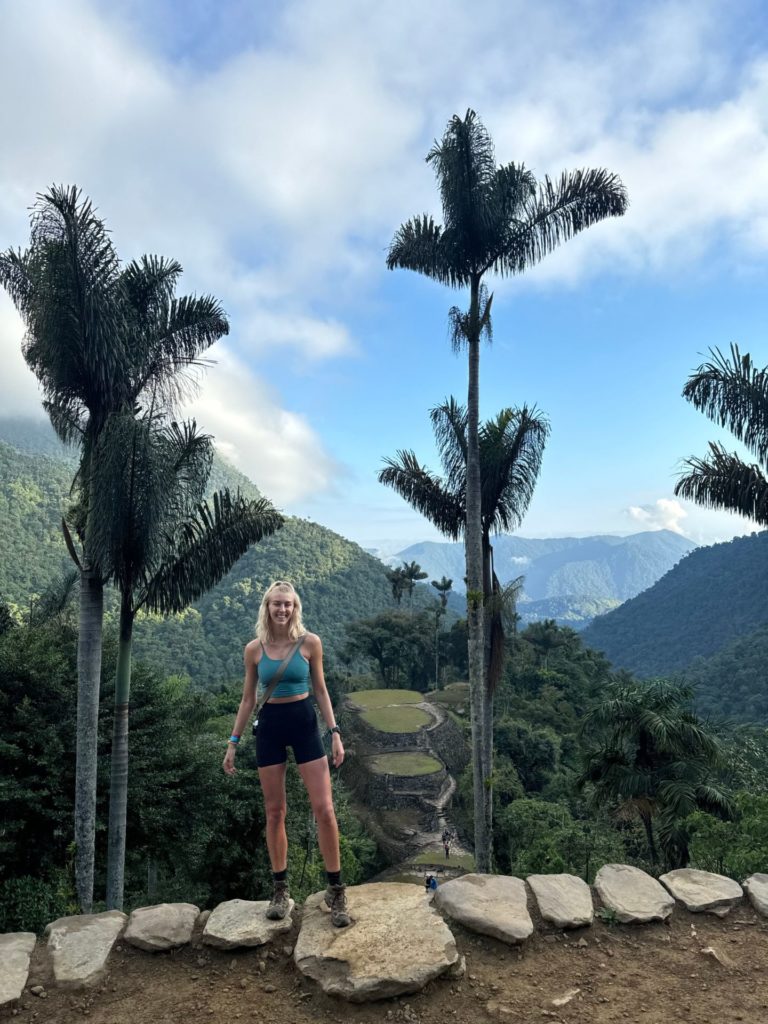
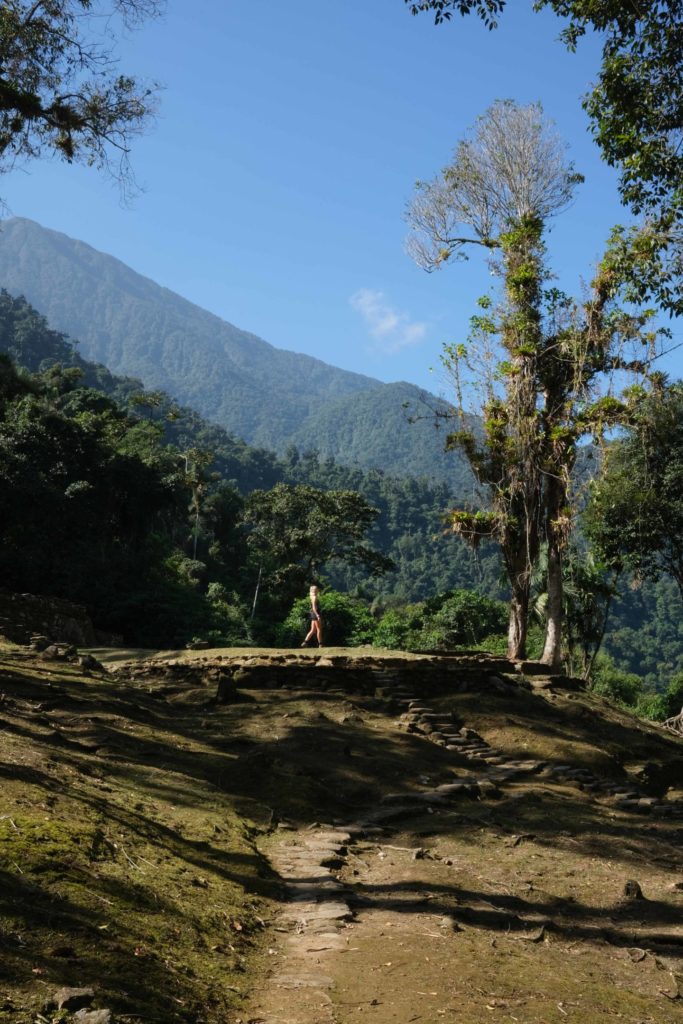
The historic site is much larger than I expected. Only around 10% of the city is uncovered, the rest is still hidden under thick jungle, and yet there is an abundance to explore. Beyond the famous photo of the terraces there are numerous other areas to wander through and learn about. You will most likely spend around 2-3 hours in the city and be taken by your guide to meet the local shamans who live there, which is an amazing experience.
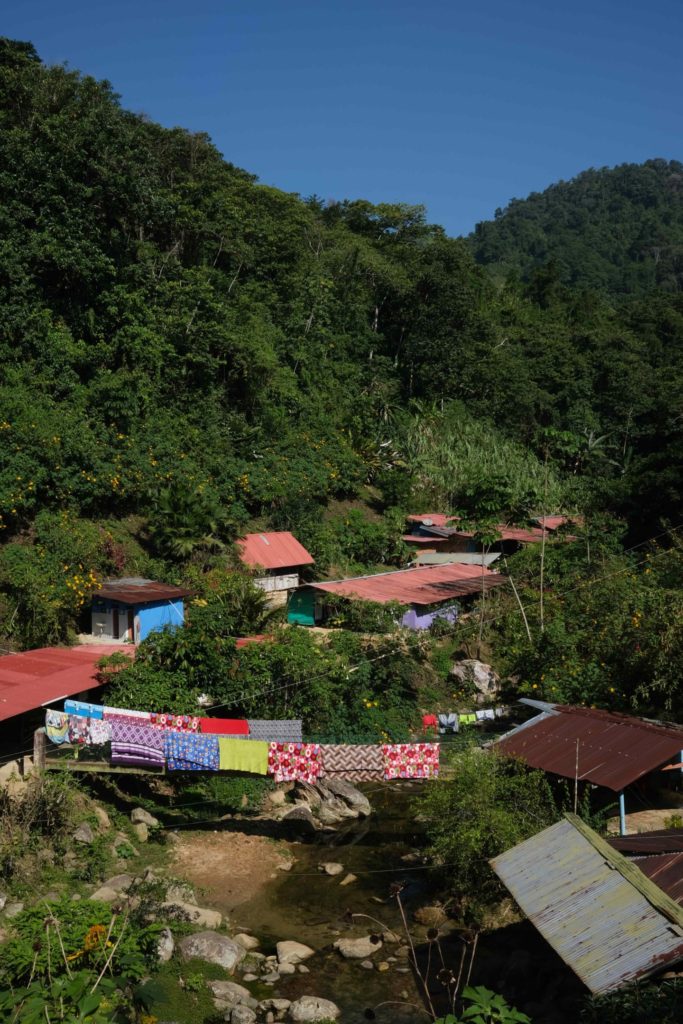
As the trek progresses, you will pass into indigenous land. The people who live there have preserved their culture exceptionally well despite the influence of the outside world, and it’s an absolute privilege to be able to connect with them. It’s imperative that you give the local people the respect they deserve. That means only taking photos after asking for permission, not overstepping on their land or entering their homes, picking up any litter and being courteous when you cross paths. It’s worth nothing that often the members of indigenous communities are shy so don’t be offended if they don’t acknowledge you.
So just embrace it! The nature of doing a challenging multi-day hike in the heat and humidity of the jungle means you are going to be absolutely drenched in sweat. Instead of fighting it, lean into it. You are all in the same boat! None of your gear will dry, no matter how much you hang it out in the sun so my biggest recommendation is to make sure you bring a spare dry bag to store your dirty clothes in at the end of each day, so the smell can be contained!
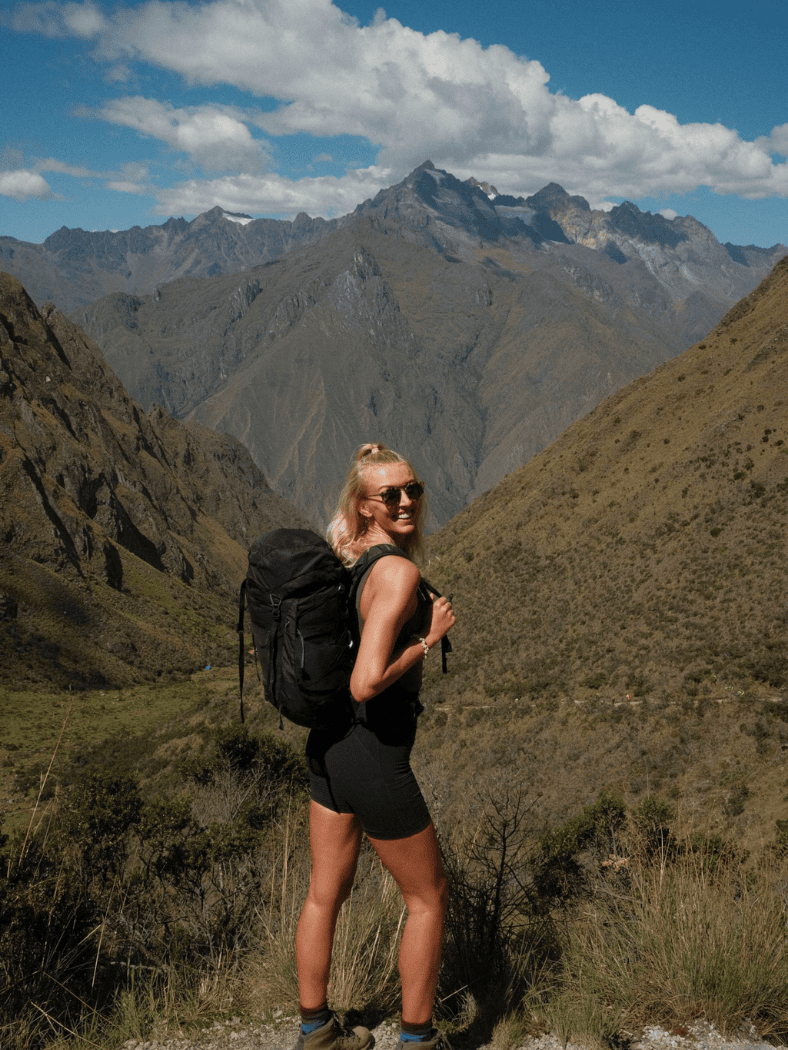
Yep, that’s right. 4 days worth of clothing and supplies on your back, so it is essential that you pack as light as possible – I have created a Lost City Packing List to help you do this. My biggest recommendation would be to use a comfortable and practical backpack which has supportive hip straps. You really want to ensure the weight of your bag is put through your legs and not your upper body.
There is the option to put your backpack on a mule or motorbike at certain parts of the trek, but I feel like ideally you should pack and prepare in such a way that you can carry your own bag for the duration of the hike.

I have written a whole separate article about what to pack for the Lost City trek, but if there’s one tip I need to give you – it’s to bring a selection of dry bags and keep your belongings in them. Not only does this allow you to keep your backpack organised and easily find what you need, but it also protects your possessions from water, humidity and just general jungle hazards.
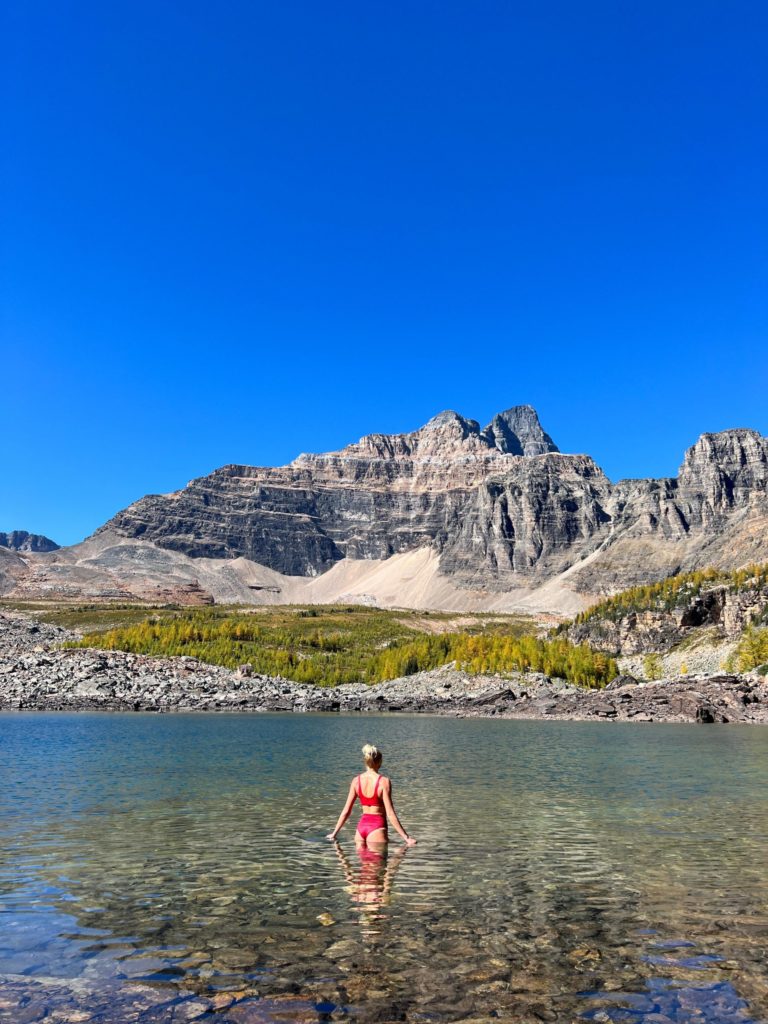
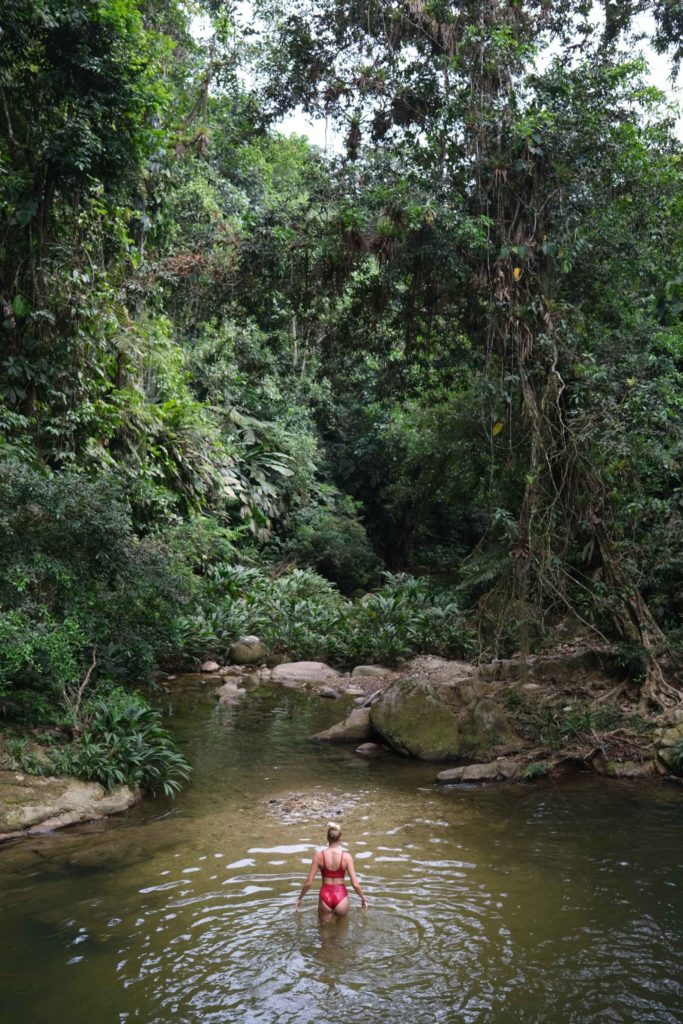
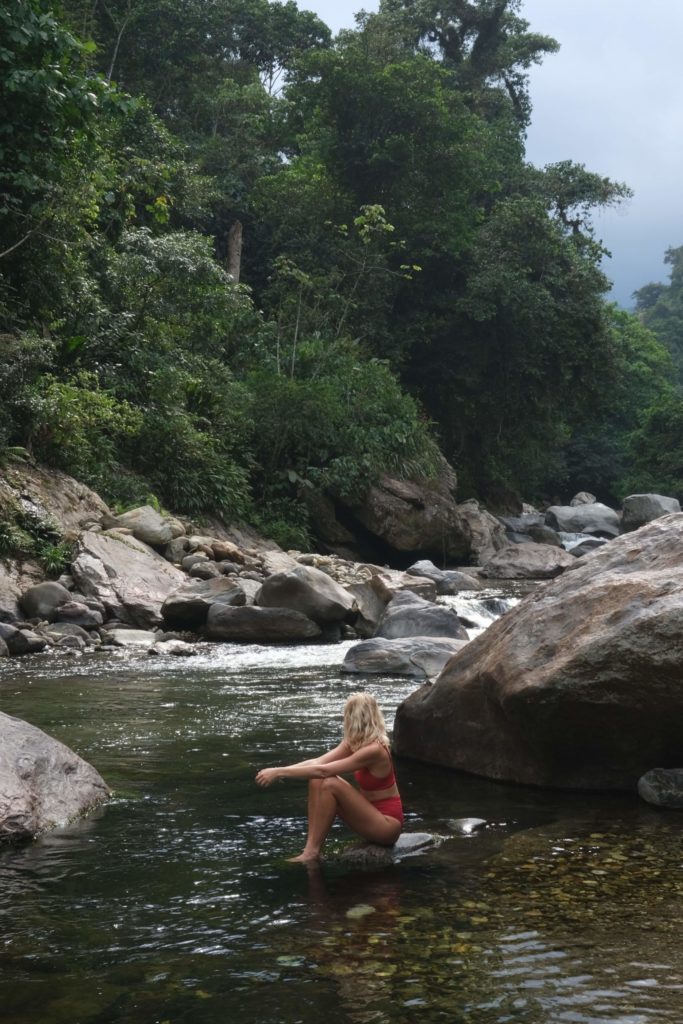
Make sure you pack your swimmers because there are some absolutely incredible locations for a dip on the trek. We swam two or three times a day, every single day and loved it! My personal favourite was the one next to our first camp. It has a waterfall, a high platform to jump off and steps to get out easily.
I have to admit, my expectations were pretty low when it came to the camps but I was pleasantly surprised. There are comfortable bunk beds to sleep in, plenty of showers and western toilets (bring your own loo roll!). You will be provided with a sheet, blanket and pillow. Just make sure you pack a silk sleeping bag liner, to protect you from potential bed bugs or insects of any kind. Oh and a pair of ear plugs to block out the noise of other campers.
You are in the jungle after all! We didn’t actually see too many creepy crawlies, just a snake, some big spiders and cockroaches. Our main concern was the mosquitos, which actually weren’t out in force when we went, but we were dousing ourselves in huge quantities of mosquito repellent at every opportunity. I have heard horror stories about the mosquitos on this hike, so make sure you are well prepared.
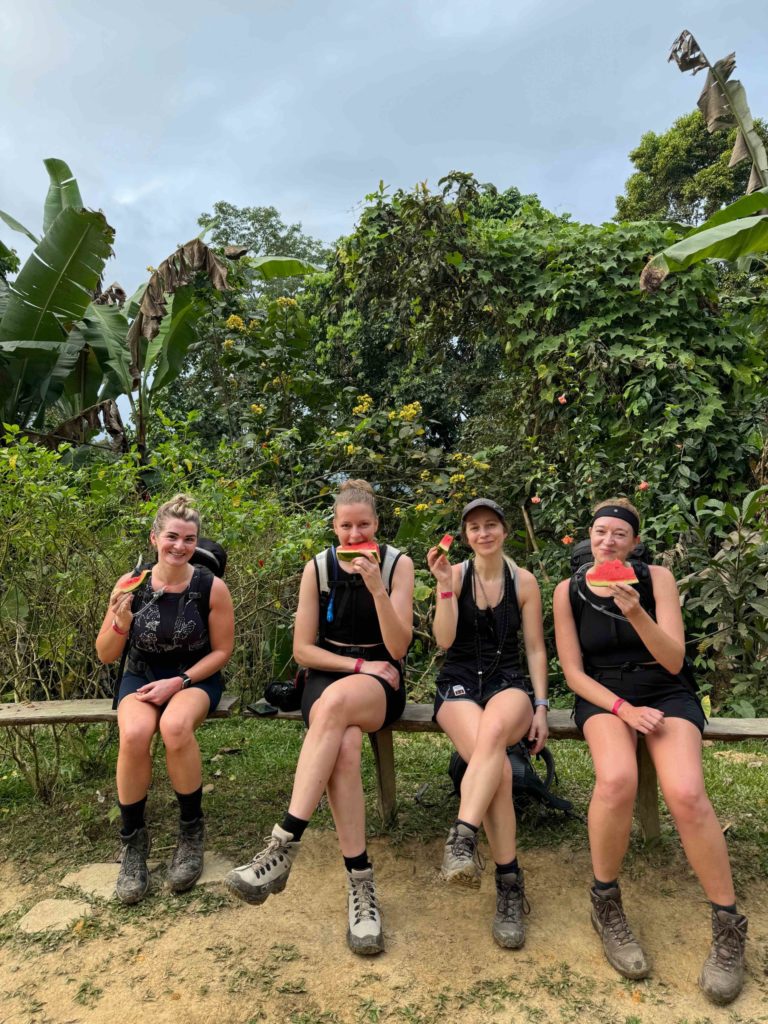
There are numerous little snack huts dotted along the trek, most of which are conveniently located right at the top of a steep climb, just where you need a break! There you can buy energy drinks, snacks and often your tour guide will provide slices of fresh fruit like watermelon and pineapple. Personally, I only brought four energy bars (one per day) and found that to be plenty enough as you are well fed at your main meals too.
I didn’t have the highest hopes when it came to the meals we would be eating. I mean, you’re in the depths of the Colombian jungle, what do you expect? But our incredible chefs did such a great job at keeping us well fuelled with nourishing and varied meals. There were pancakes or scrambled eggs for breakfast and then hearty pasta dishes and wraps for lunch and dinner, as well as a sweet treat after every meal! We never went hungry.
There are large water tanks provided at each camp where you can refill your bottles and water bladders for free. If you need to get more during the day, you can purchase bottles at the little snack huts. It is absolutely essential that you stay hydrated as you are sweating such large quantities. For that reason I highly recommend bringing a 2-3 litre water bladder and ensuring it is full at the start of the day and empty by the end. Electrolytes are also a great idea.
A huge part of these remote experiences in nature is disconnecting from the outside world, and hooking up to wifi only detracts from the experience. I highly recommend seeing the four days as a voluntary digital detox. It will allow you to be fully present in this once-in-a-lifetime experience.
The heat and humidity of the jungle can damage your tech, so I only recommend bringing what you absolutely need when it comes to cameras and expensive equipment. There are also limited plug sockets at each camp and the electricity only comes on at certain times, so it’s wise to bring a portable charging pack.
One thing I wasn’t expecting was the humidity to lead to an issue charging my phone. It kept detecting water in the cable and wouldn’t allow me to plug it in, an issue I saw a couple of other people experience too. Thankfully someone in my group had a wireless MagSafe charger which I was able to use, but if I did the hike again I would take my own wireless charger to combat this issue.
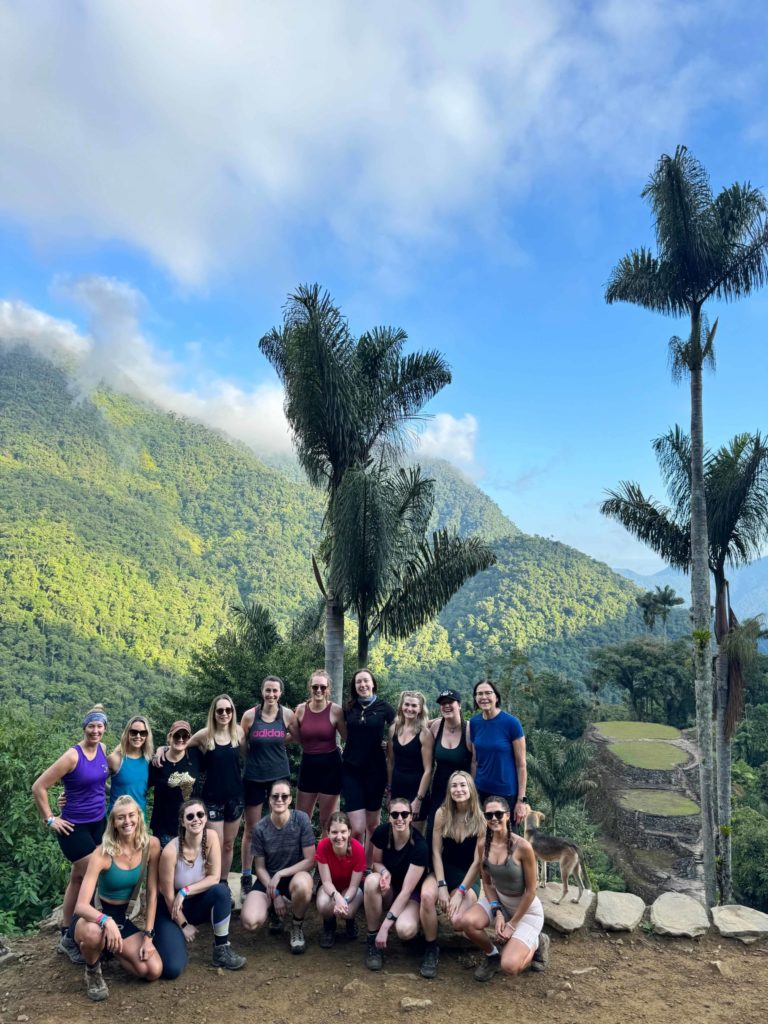
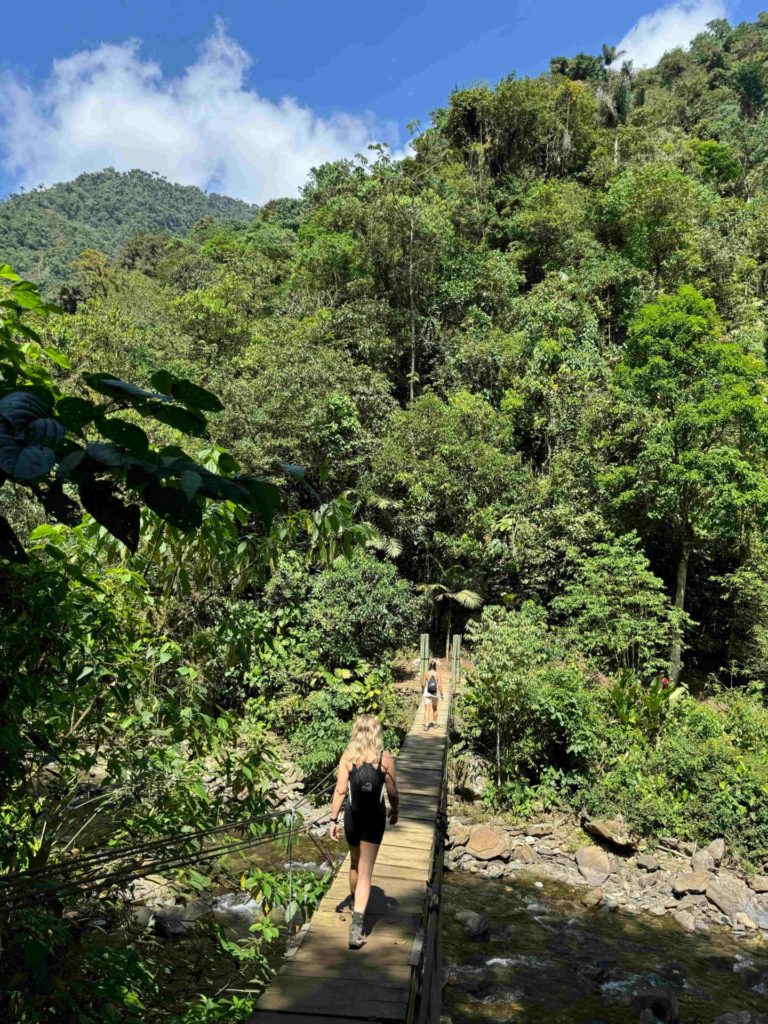
Only 150 people are allowed to visit the Lost City every day, and the only way they can access the site is via the four-day hike. This sounds like a pretty small amount of people, but in reality it’s quite a lot and you will very rarely have the trail to yourselves. We were constantly crossing paths with other groups, which is absolutely fine but just something you need to be aware of if you are expecting an isolated hike. I am someone who usually prefers having a route to myself, but I really enjoyed meeting and mixing with other groups and seeing familiar faces at the snack stops.
If you speak to your guide, you can discuss ways to find moments of peace on the trail. For example:
These are all options to discuss with your guide, as they depend on your group’s fitness levels, but if you can push ahead then you will be rewarded.
Safe travels,
Zanna x
Let me slide into your inbox. A monthly newsletter of all the good stuff – latest posts and videos, rants and rambles, recommendations and resources.
Website Designed by Brogan Daisy Digital © Zanna Van Dijk 2025
Let me slide into your inbox. A monthly newsletter of all the good stuff – latest posts and videos, rants and rambles, recommendations and resources.